
Introduction
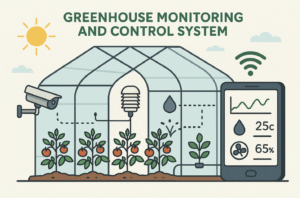
A greenhouse monitoring and control system ensures the best conditions for plant growth. It automates the control of temperature, humidity, light, and soil moisture. Using various sensors, this system continuously monitors environmental parameters. If conditions go outside the control range, it activates devices such as fans, heaters, or water pumps. It helps maintain a stable and healthy environment for plants. DHT11/DHT22 sensors are used to measure temperature and humidity. Soil moisture sensors check if the plants need water or not. LDRs (light sensors) help manage sunlight or artificial light. All operations are controlled using Arduino or NodeMCU, making it smart and reliable. This reduces manual labor and improves crop production and plant health. It can also connect to the IoT cloud to monitor data from remote areas. LED indicators or LCD screens can display real-time data. Water pumps or fans automatically turn on based on sensor values. This project promotes smart agriculture and sustainable farming. It is useful in agricultural research centers, smart farms, and educational settings. A greenhouse system that uses IoT + sensors is an excellent example of automation.
Hardware Components (Written Form)
Component | Quantity | Purpose |
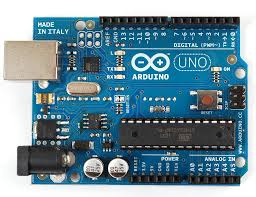
Arduino Uno/Nano | 1 | Main controller |
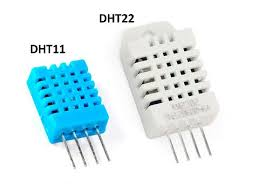
DHT11/DHT22 Sensor | 1 | Measures temperature and humidity |
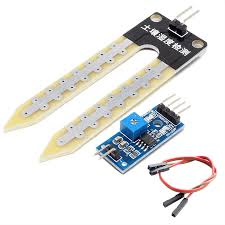
Soil Moisture Sensor | 1 | Measures soil water content |
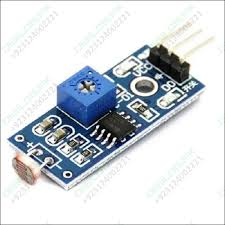
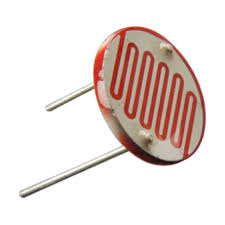
LDR (Light Sensor) | 1 | Detects light intensity |
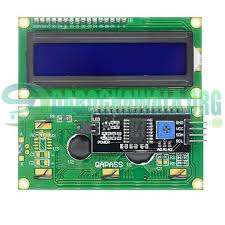
16×2 LCD Display (I2C) | 1 | Displays real-time values |
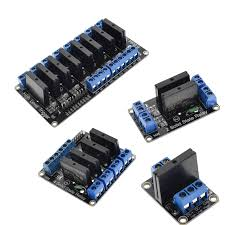
Relay Module (1/2/4-Channel) | 1+ | Controls fan, water pump, light |
Fan | 1 | Turns on during high temperature |
Mini Water Pump (5V/12V) | 1 | For automatic irrigation |
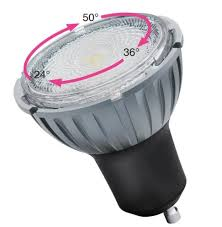
Light/Bulb (optional) | 1 | Controlled based on light conditions |
Resistors (for LDR) | 1 | Used in voltage divider |
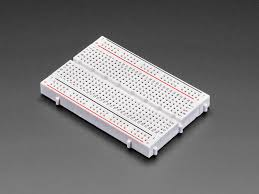
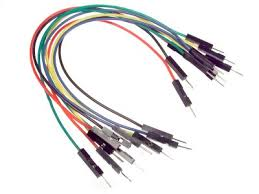
Breadboard + Jumper Wires | Several | For connections |
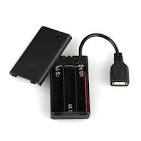
Power Source | 1 | 5V/9V supply for Arduino and sensors |
Arduino Uno/Nano:
|
DHT11/DHT22 Sensor:
|
Soil Moisture Sensor:
|
LDR (Light Sensor):
|
16×2 LCD Display (I2C):
|
Relay Module (1/2/4-Channel):
|
|
Mini Water Pump (5V/12V):
|
Light/Bulb (optional):
|
Resistors (for LDR):
|
Breadboard:
|
Jumper wires:
Power Source:
|

🔌 Wiring Components (Written Form)
🔸 DHT11 Sensor
- VCC→ Arduino 5V
- GND→ GND
- DATA→ Arduino pin 2
🔸 Soil Moisture Sensor
- VCC→ 5V
- GND→ GND
- A0→ Arduino A0
🔸 LDR with Resistor (10kΩ)
- One leg of LDR→ 5V
- Other leg → Arduino A1and to GND via 10kΩ resistor
🔸 LCD I2C
- SDA→ A4 (Uno)
- SCL→ A5 (Uno)
- VCC→ 5V
- GND→ GND
🔸 Relay Module
- IN1→ Arduino pin 3 (Fan)
- IN2→ Arduino pin 4 (Pump)
- IN3→ Arduino pin 5 (Light)
- VCC, GND→ 5V and GND
💻 Arduino Code: Greenhouse Monitoring & Control
#include <DHT.h>
#include <Wire.h>
#include <LiquidCrystal_I2C.h>
#define DHTPIN 2
#define DHTTYPE DHT11
DHT dht(DHTPIN, DHTTYPE);
#define SOIL_MOISTURE A0
#define LDR_PIN A1
#define FAN_RELAY 3
#define PUMP_RELAY 4
#define LIGHT_RELAY 5
LiquidCrystal_I2C lcd(0x27, 16, 2); // I2C address
void setup() {
pinMode(FAN_RELAY, OUTPUT);
pinMode(PUMP_RELAY, OUTPUT);
pinMode(LIGHT_RELAY, OUTPUT);
digitalWrite(FAN_RELAY, HIGH);
digitalWrite(PUMP_RELAY, HIGH);
digitalWrite(LIGHT_RELAY, HIGH);
Serial.begin(9600);
dht.begin();
lcd.begin();
lcd.backlight();
}
void loop() {
float temp = dht.readTemperature();
float humidity = dht.readHumidity();
int soil = analogRead(SOIL_MOISTURE);
int light = analogRead(LDR_PIN);
lcd.setCursor(0, 0);
lcd.print(“T:”);
lcd.print(temp);
lcd.print(“C H:”);
lcd.print(humidity);
lcd.print(“%”);
lcd.setCursor(0, 1);
lcd.print(“Soil:”);
lcd.print(soil);
lcd.print(” L:”);
lcd.print(light);
// Fan control
if (temp > 30) digitalWrite(FAN_RELAY, LOW); // ON
else digitalWrite(FAN_RELAY, HIGH); // OFF
// Pump control
if (soil < 300) digitalWrite(PUMP_RELAY, LOW);
else digitalWrite(PUMP_RELAY, HIGH);
// Light control
if (light < 400) digitalWrite(LIGHT_RELAY, LOW);
else digitalWrite(LIGHT_RELAY, HIGH);
delay(2000);
}