Introduction
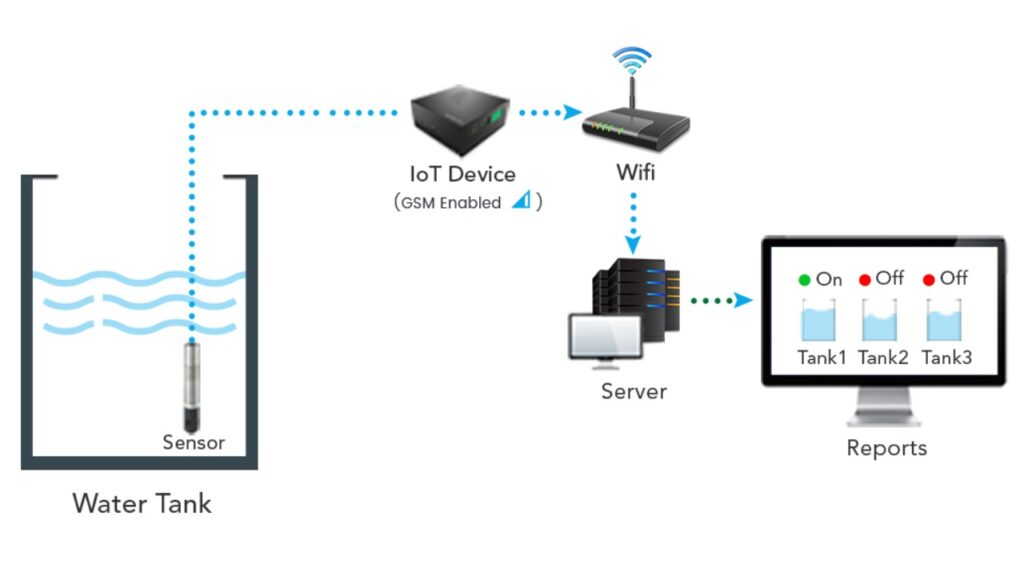
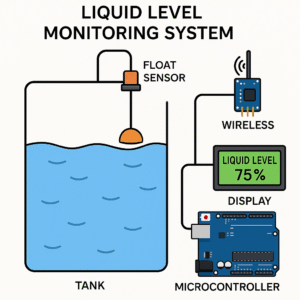
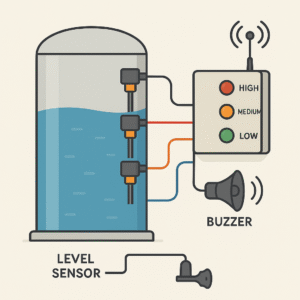
The liquid level monitoring system is designed to measure and supervise the liquid level in tanks or containers. This system is widely used in industries, agriculture, and domestic water tanks. It prevents overflow and dry running conditions, and provides real-time monitoring. It uses ultrasonic sensors or float sensors to detect the liquid height. The level is displayed on an LCD screen or sent to a mobile/cloud application. Alerts can be provided through bells or LEDs when the level is too high or too low. This system helps reduce water waste and maintain resource efficiency. It can be used in underground tanks, above-ground tanks, or fuel containers. When connected to a pump, it can automatically control engine operations. This system is safe, low-cost, and easy to implement. Using IoT modules, it can send data to a server or smartphone. This project introduces concepts of real-time sensing and automated systems. It is ideal for students, IoT enthusiasts, and smart agricultural projects. It improves water management in smart homes and industries. It can be powered by solar panels or batteries to be ready for use off-grid. This technology is the best combination of technology and sustainability.
Hardware Components (Written Form)
Component | Quantity | Description |
|
|
|
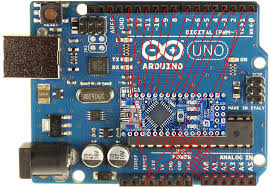
Arduino Uno/Nano | 1 | Brain of the system |
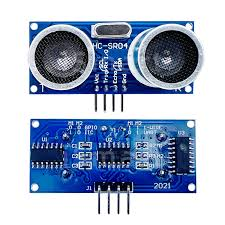
Ultrasonic Sensor (HC-SR04) | 1 | Measures liquid height |
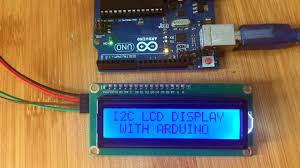
16×2 LCD Display (I2C) | 1 | Shows liquid level in % or cm |
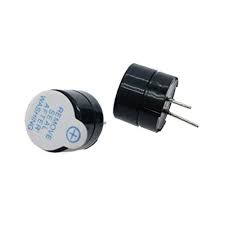
Buzzer (Optional) | 1 | Alerts on overflow/low level |
Red & Green LEDs | 2 | Indicates low/high liquid levels |
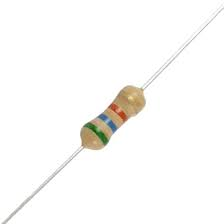
Resistors (220Ω) | 2–3 | For LEDs |
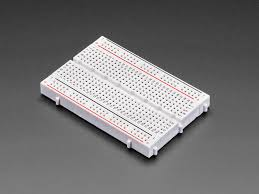
Breadboard | 1 | For wiring |
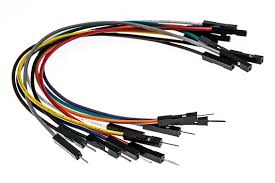
Jumper Wires | Several | To connect components |
Power Supply (USB/9V) | 1 | Powers Arduino |
Arduino Uno/Nano:
|
Ultrasonic Sensor (HC-SR04):
|
16×2 LCD Display (I2C):
|
Buzzer (Optional):
|
Red & Green LEDs:
|
Resistors (220Ω):
|
Breadboard:
|
Jumper Wires:
|
Power Supply (USB/9V):
|

🔌 Wiring Components (Written Form)
🔸 Ultrasonic Sensor (HC-SR04) to Arduino
- VCC→ Arduino 5V
- GND→ Arduino GND
- TRIG→ Arduino pin 2
- ECHO→ Arduino pin 3
🔸 LCD I2C to Arduino
- SDA→ Arduino A4
- SCL→ Arduino A5
- VCC→ Arduino 5V
- GND→ Arduino GND
🔸 Buzzer and LEDs
- Buzzer +→ Arduino pin 4
- Red LED +→ Arduino pin 5
- Green LED +→ Arduino pin 6
- All – (Cathode)→ Arduino GND via 220Ω resistor
Arduino Code: Liquid Level Monitor
#include <LiquidCrystal_I2C.h>
#define TRIG 2
#define ECHO 3
#define BUZZER 4
#define RED_LED 5
#define GREEN_LED 6
LiquidCrystal_I2C lcd(0x27, 16, 2); // I2C address 0x27
const int tankHeight = 30; // height of the tank in cm
void setup() {
pinMode(TRIG, OUTPUT);
pinMode(ECHO, INPUT);
pinMode(BUZZER, OUTPUT);
pinMode(RED_LED, OUTPUT);
pinMode(GREEN_LED, OUTPUT);
lcd.begin();
lcd.backlight();
Serial.begin(9600);
}
long readDistanceCM() {
digitalWrite(TRIG, LOW);
delayMicroseconds(2);
digitalWrite(TRIG, HIGH);
delayMicroseconds(10);
digitalWrite(TRIG, LOW);
long duration = pulseIn(ECHO, HIGH);
return duration * 0.034 / 2;
}
void loop() {
long distance = readDistanceCM(); // distance from sensor to water surface
int level = tankHeight – distance; // how much of the tank is filled
int percent = map(level, 0, tankHeight, 0, 100);
lcd.clear();
lcd.setCursor(0, 0);
lcd.print(“Level: “);
lcd.print(percent);
lcd.print(“%”);
lcd.setCursor(0, 1);
lcd.print(“Dist: “);
lcd.print(distance);
lcd.print(” cm”);
Serial.print(“Water Level: “);
Serial.print(percent);
Serial.println(“%”);
// Alerts
if (percent < 20) {
digitalWrite(RED_LED, HIGH);
digitalWrite(GREEN_LED, LOW);
digitalWrite(BUZZER, HIGH);
} else if (percent > 95) {
digitalWrite(RED_LED, HIGH);
digitalWrite(GREEN_LED, LOW);
digitalWrite(BUZZER, HIGH);
} else {
digitalWrite(RED_LED, LOW);
digitalWrite(GREEN_LED, HIGH);
digitalWrite(BUZZER, LOW);
}
delay(2000);
}